Instructions for sampling
- Home
- Instructions for sampling
- DOG
- CAT
- HORSE
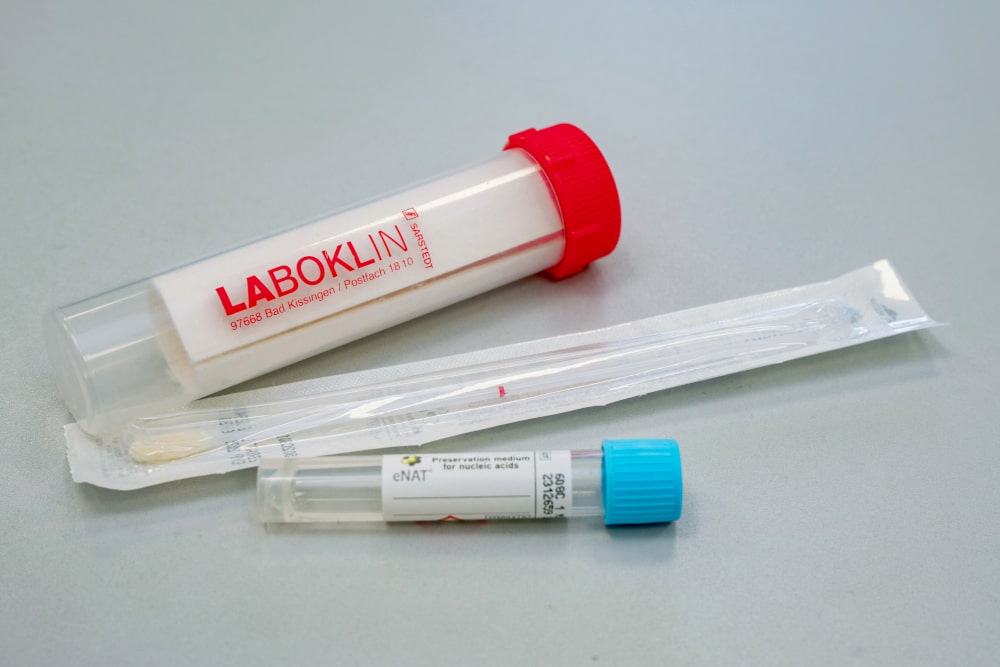
What is included in the test kit?
How do I proceed?
Step 1: Preparation of the sample tubes
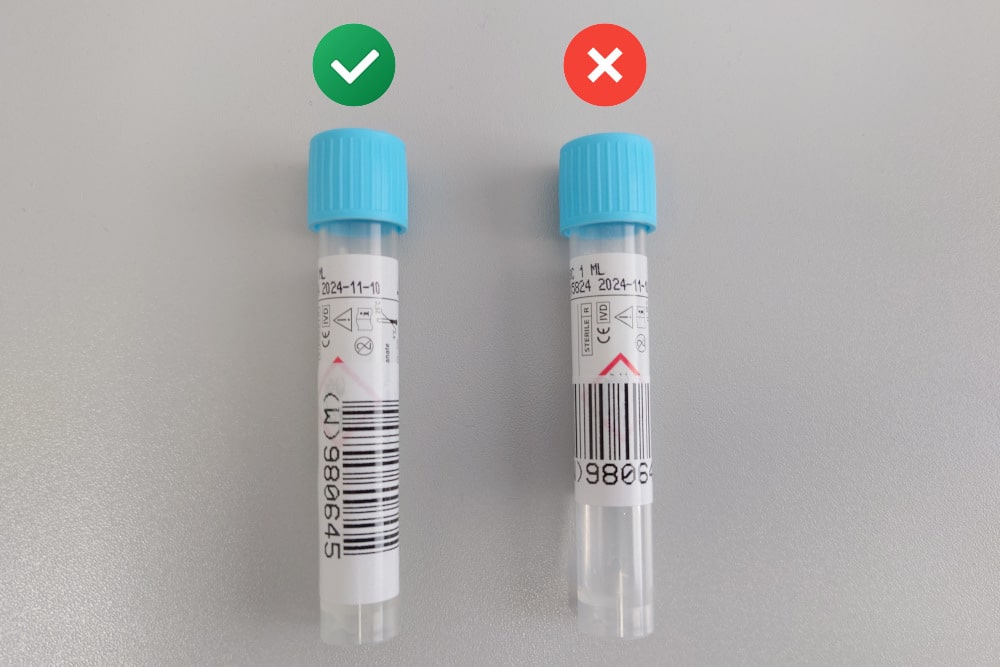
- 1 Label the sample tube:
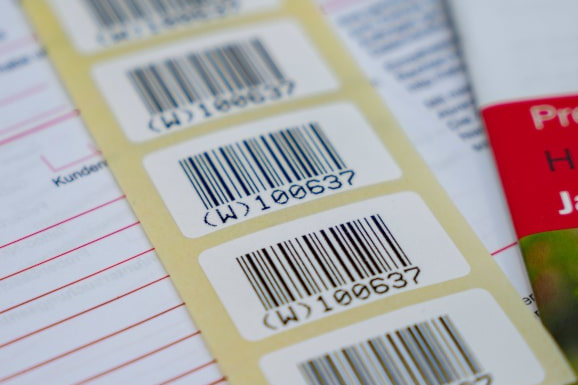
- Stick one of the barcodes vertically onto the sample tube.
- Stick one of the barcodes vertically onto the sample tube.
- Use the same barcode number for the sample tube and the test request.
- Stick a barcode on the outer tube as well.
- Remaining barcodes can be discarded.
Step 2: Sampling
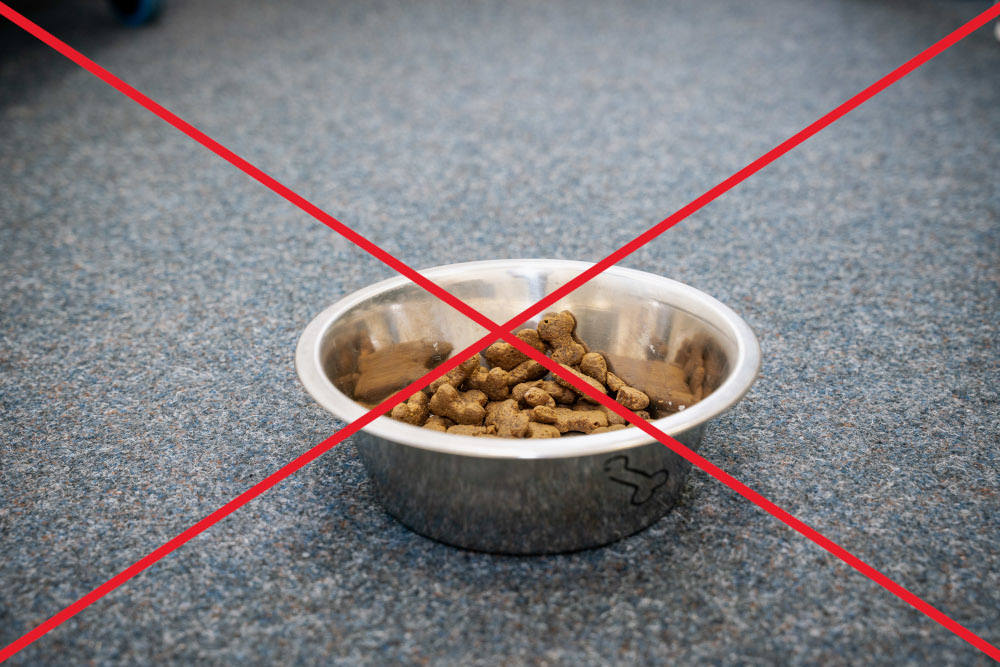
- 1. Preparation of the animal:
- The animal should not have eaten or suckled for approx. 1 – 2 hours before the sample is taken.
- Keep the animal separate from other animals during this period to avoid contamination of the swab with foreign DNA.
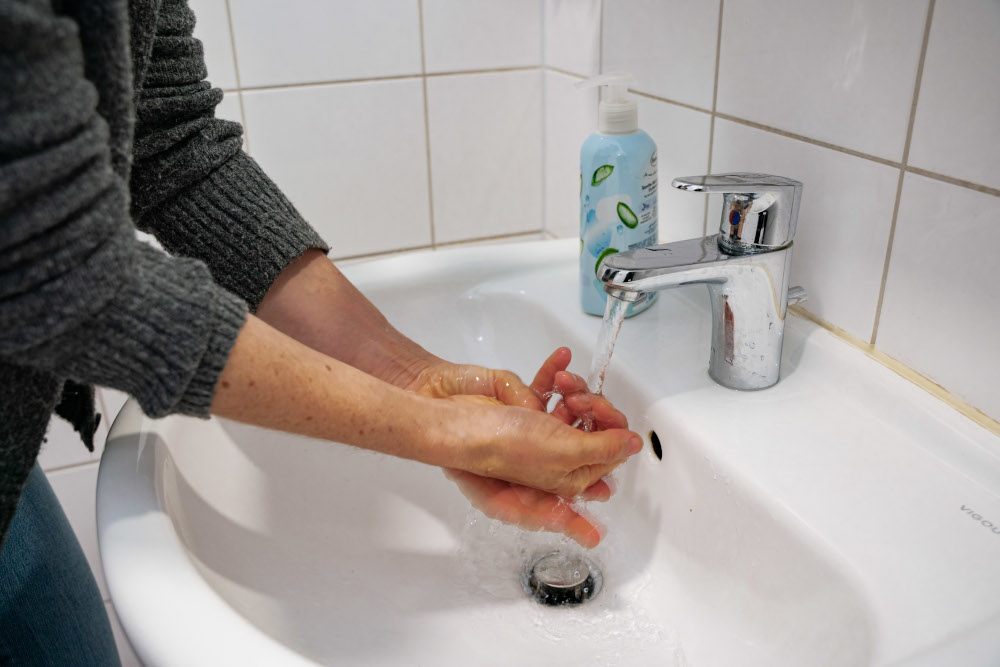
- 2. Carrying out the sample collection:
- Wash your hands thoroughly before taking the swab.
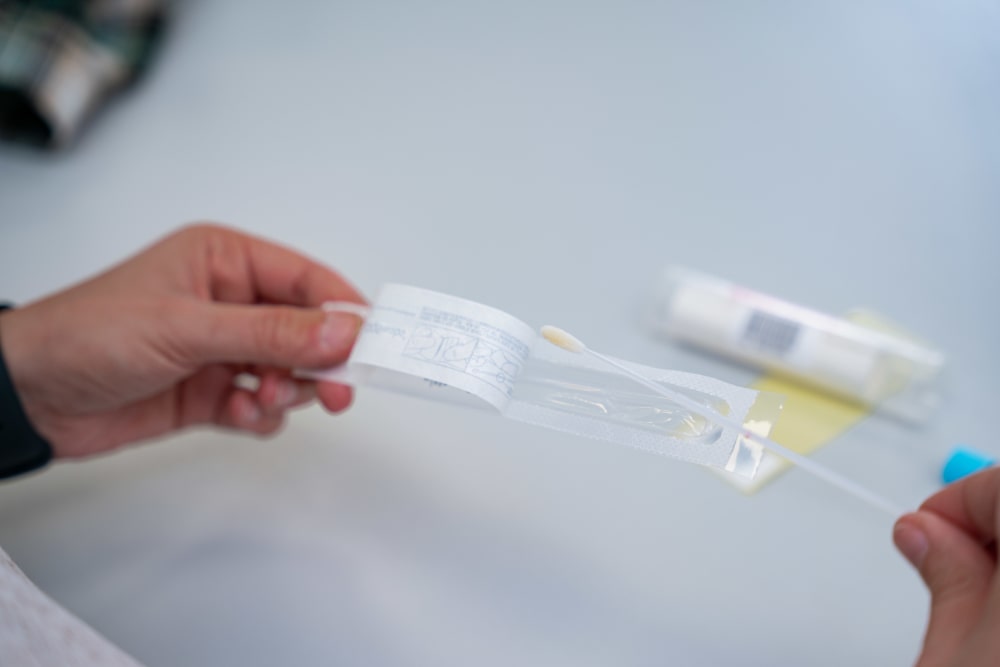
- Remove the swab from the packaging.
- Make sure that the padded part only comes into contact with the cheek mucosa of the animal to avoid contamination.
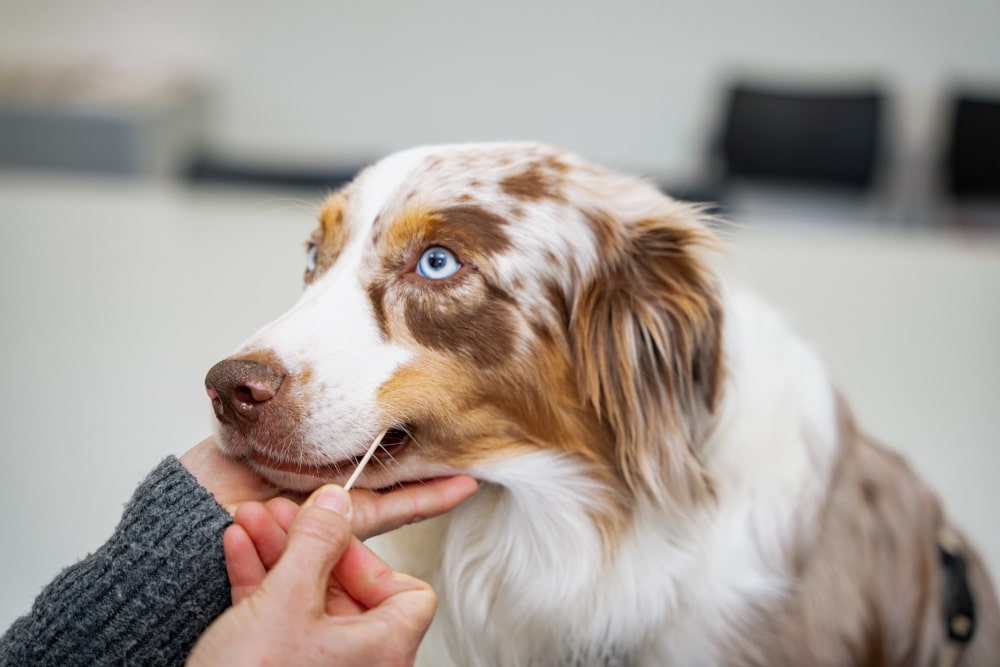
- Rub the padded side of the swab with light pressure along the inside of the cheek mucosa for approx. 10 seconds.
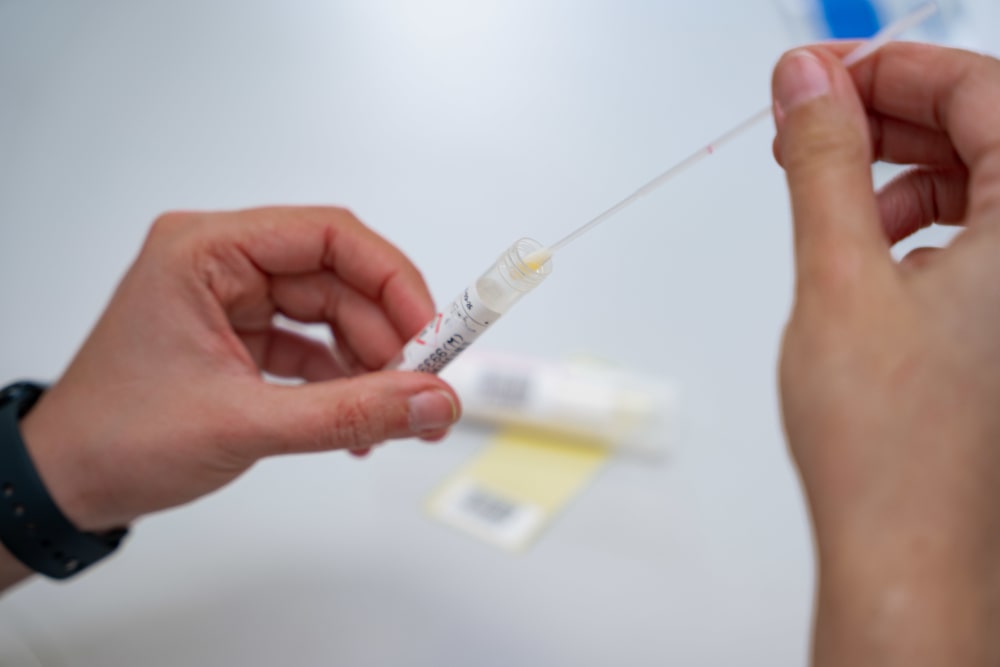
- Open the tube containing the liquid and insert the swab immediately.
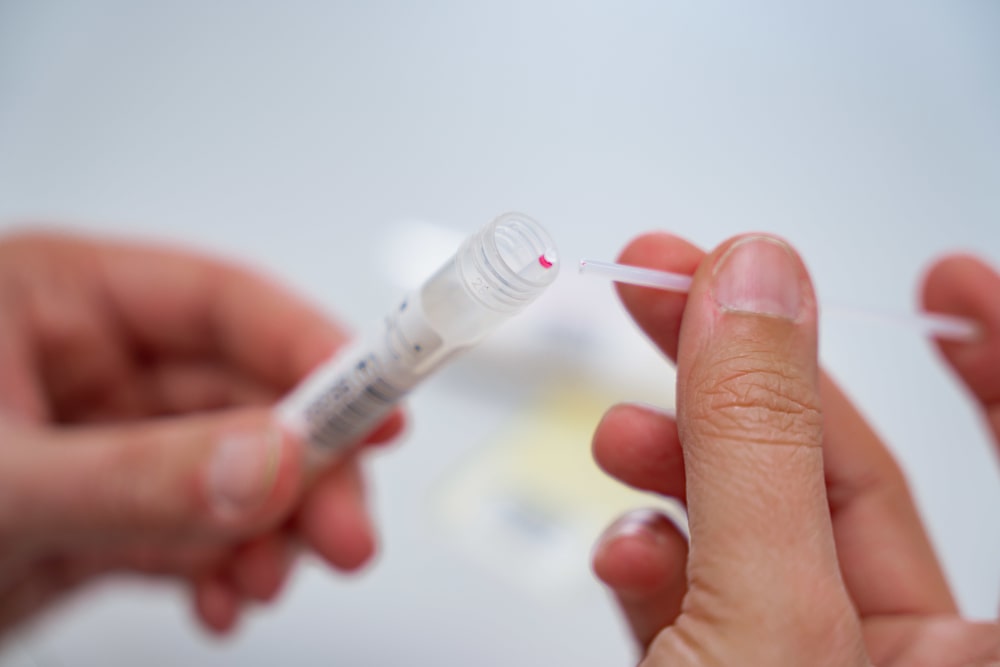
- Bend the rod at the predetermined breaking point.
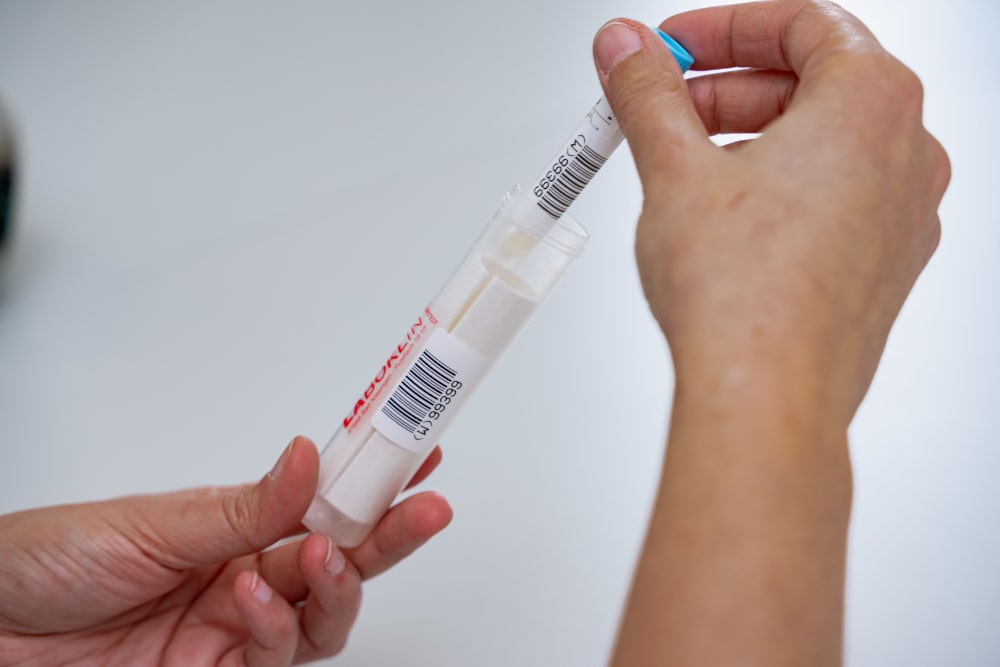
- Close the tube tightly and place it in the labelled outer tube.
Step 3: Shipping the sample material
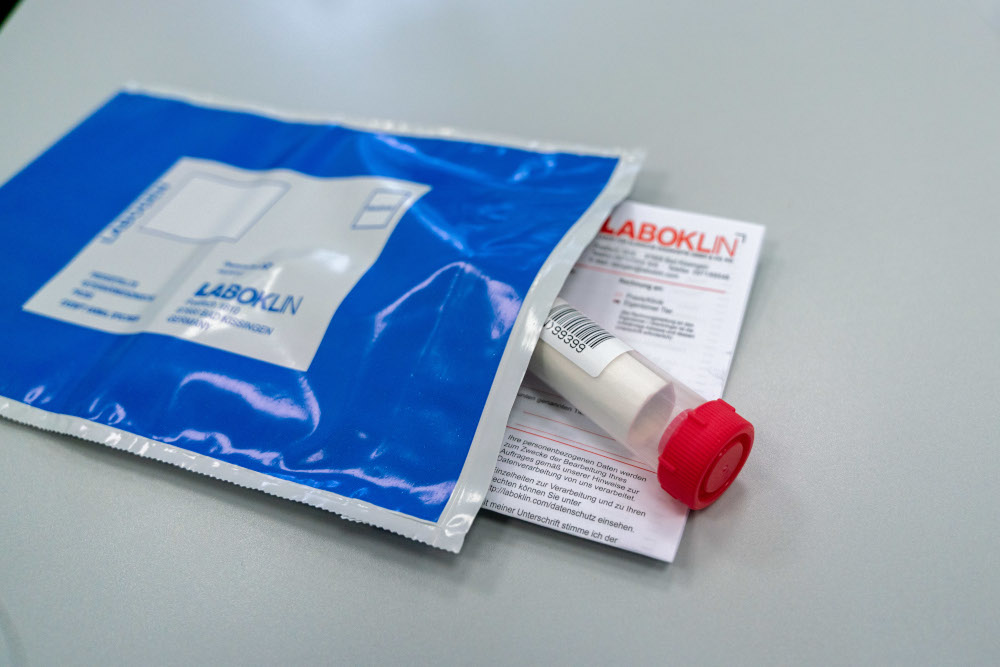
- 1. Packing and shipping:
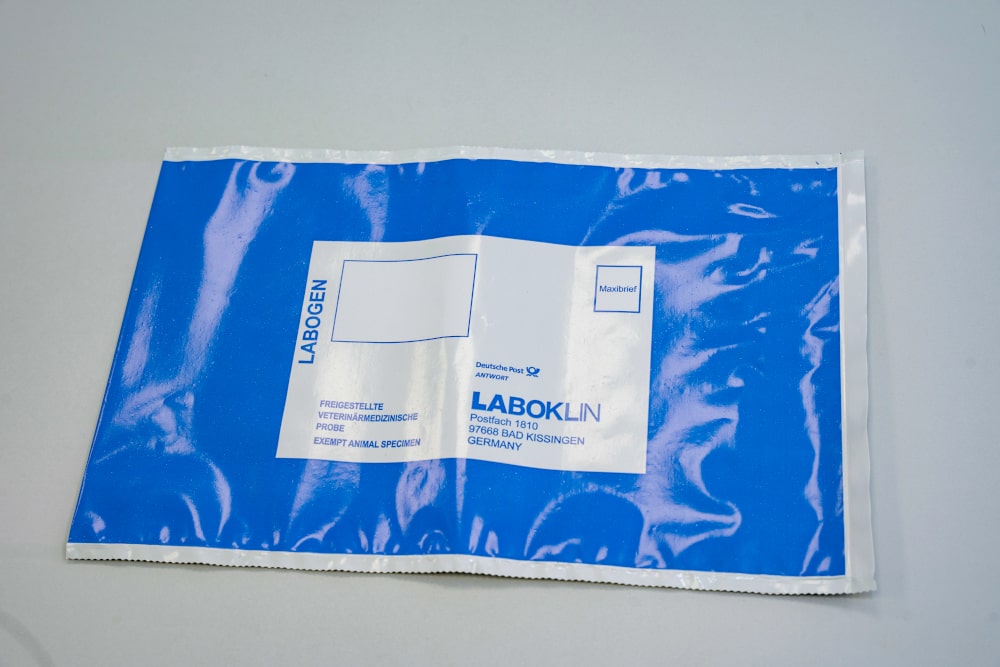
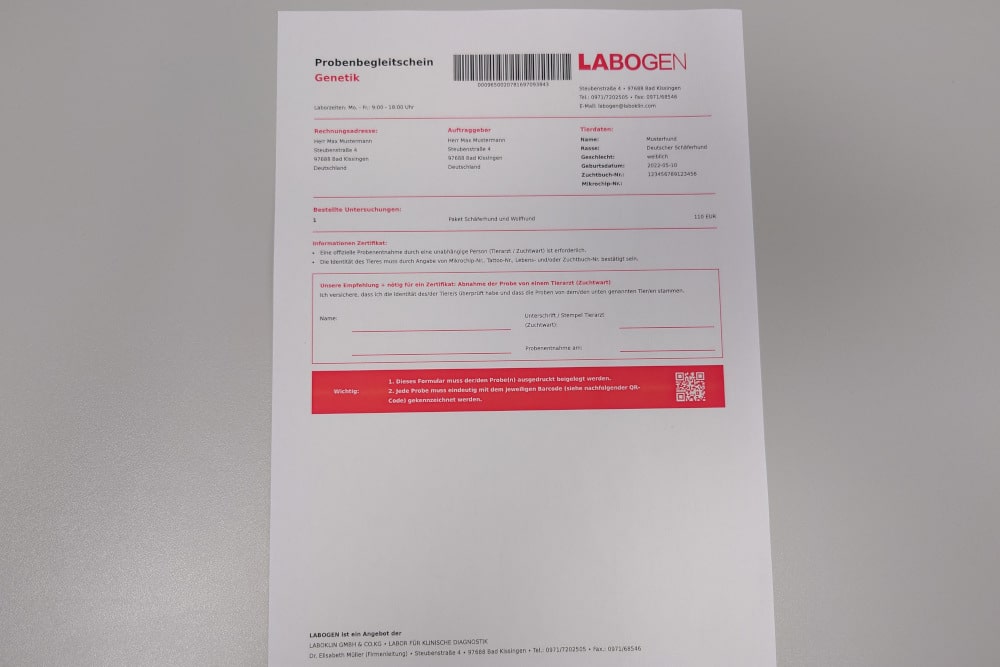
- Please put the tube together with the submission form in the enclosed return envelope.
- Put sufficient postage on the envelope and send it to the provided address.
- 2. Further notes:
- Use the barcode number for any queries (this is also stored online under “Your orders”).
- You will be informed as soon as the first results are available.
You made it! Thank you for your help with the sample collection.
What is included in the test kit?
How do I proceed?
Step 1: Preparation of the sample tubes

- 1 Label the sample tube:
- Stick one of the barcodes vertically onto the sample tube.
- Stick one of the barcodes vertically onto the sample tube.
- Use the same barcode number for the sample tube and the test request.
- Stick a barcode on the outer tube as well.
- Remaining barcodes can be discarded.
Step 2: Sampling

- 1. Preparation of the animal:
- The animal should not have eaten or suckled for approx. 1 – 2 hours before the sample is taken.
- Keep the animal separate from other animals during this period to avoid contamination of the swab with foreign DNA.

- 2. Carrying out the sample collection:
- Wash your hands thoroughly before taking the swab.

- Remove the swab from the packaging.
- Make sure that the padded part only comes into contact with the cheek mucosa of the animal to avoid contamination.

- Rub the padded side of the swab with light pressure along the inside of the cheek mucosa for approx. 10 seconds.

- Open the tube containing the liquid and insert the swab immediately.

- Bend the rod at the predetermined breaking point.

- Close the tube tightly and place it in the labelled outer tube.
Step 3: Shipping the sample material

- 1. Packing and shipping:
- Please put the tube together with the submission form in the enclosed return envelope.
- Put sufficient postage on the envelope and send it to the provided address.
- 2. Further notes:
- Use the barcode number for any queries (this is also stored online under “Your orders”).
- You will be informed as soon as the first results are available.
You made it! Thank you for your help with the sample collection.
What is included in the test kit?
How do I proceed?
Step 1: Labelling of plastic bags
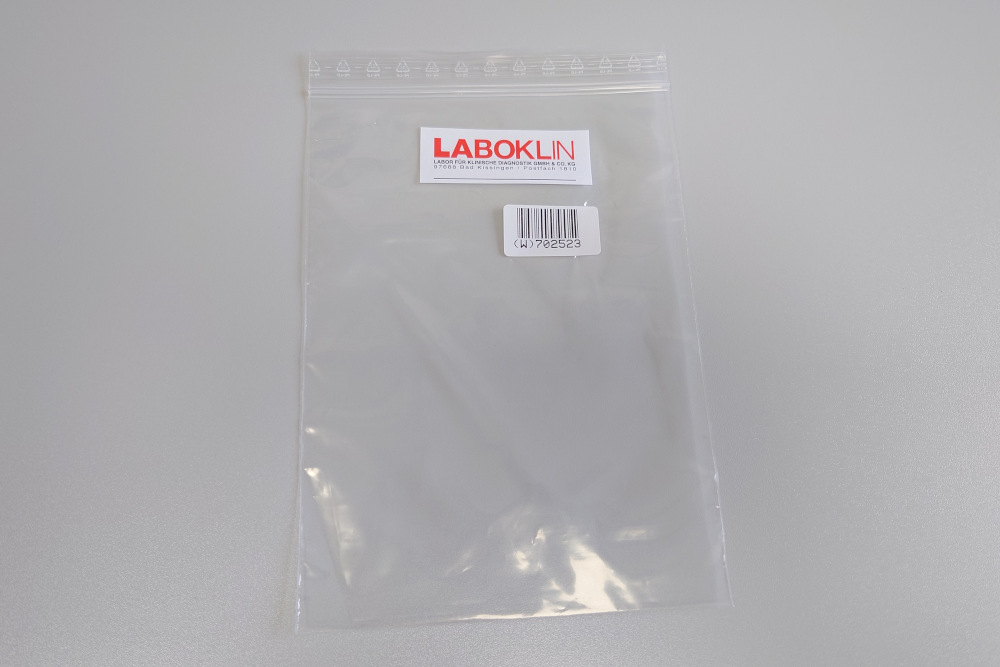
- 1. Stick one of the barcodes on the bag.
- Use one bag per horse.
- Remaining barcodes can be discarded.
Step 2: Sampling

- 1. Preparation:
- Wash your hands thoroughly before sample collection.
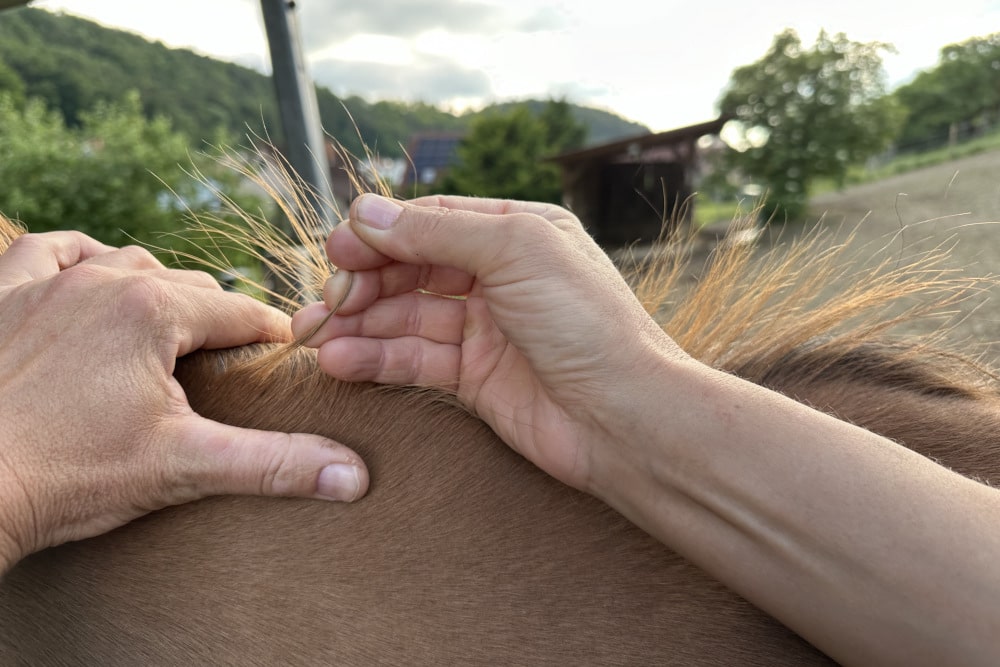
- 2. Pluck out hair:
- Take a strand of 10-20 mane or tail hairs and pluck them out by the root.
- For foals that are still suckling, it is advisable to remove tail hair to avoid contamination with foreign DNA from the mare.
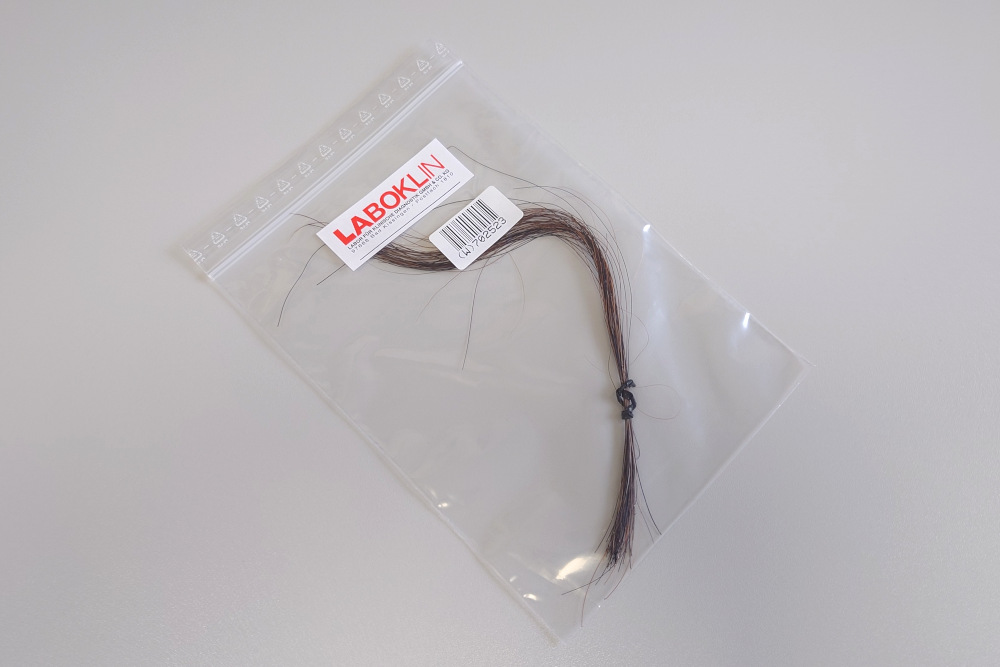
- 3. Put the hair in the bag:
- Place the plucked hairs in the plastic bag provided.
- If you have not ordered a test kit, you can use an unused envelope or a fresh ziplock bag.
Step 3: Shipping the sample material
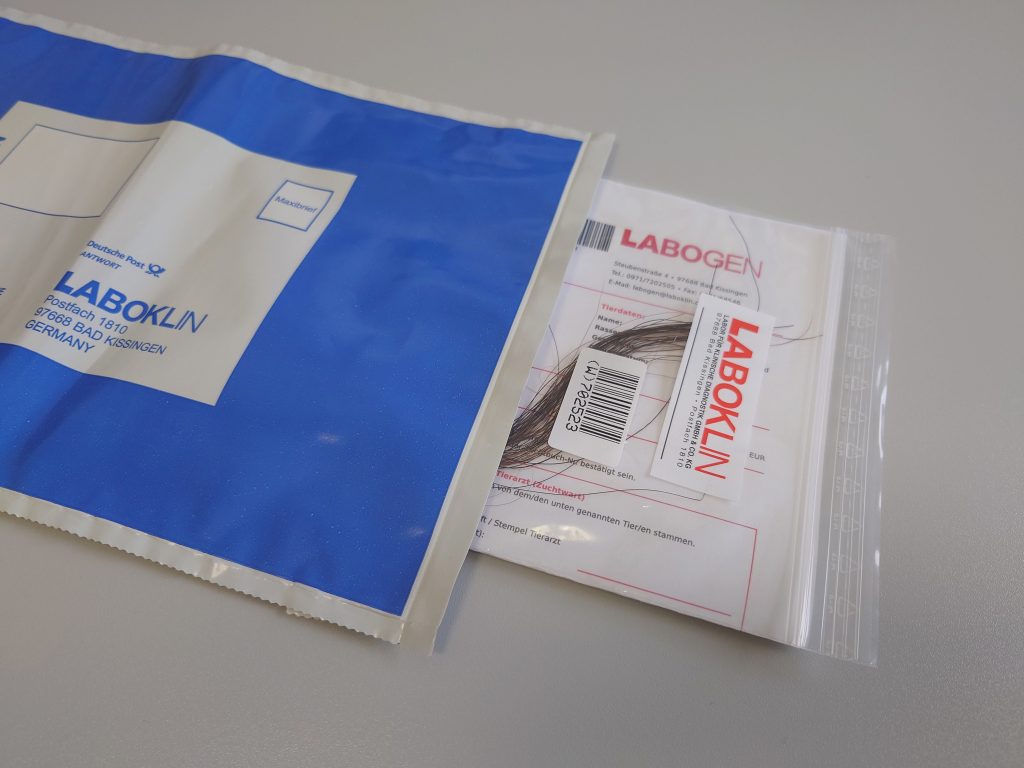
- 1. Packing and shipping:
- Place the labelled bag with the hair in the enclosed return envelope together with the request for examination.
- Put sufficient postage on the envelope and send it to the provided address.
- If you have not ordered a test kit, you can use a conventional envelope.
- 2. Further notes:
- Use the barcode number for any queries (this is also stored online under “Your orders”).
- You will be informed as soon as the first results are available.


